
How to Make Custom Wrapping Paper for Gifts
Add a personal touch to gifts with your very own custom wrapping paper! With noissue, you can transform any artwork into personalized gift wrap paper perfect for Christmas, birthdays, and any other important occasion. Learn how to make your own wrapping paper in this step-by-step guide.
By noissue — 03 March, 2025
The holiday season is coming up, and that means it's nearly gift-giving time! What better way to make your gifts feel extra special than by wrapping them up in your own wrapping paper?
Making custom-printed wrapping paper isn't just an affordable way to decorate gifts — it's also a unique way for kids (and adults!) to express themselves and surprise loved ones at celebrations.
Such special wrapping paper can even feel like a present in itself. And with the sustainable wrapping paper printing options available at noissue, you know exactly where your gift wrap is coming from, so you can be sure it's safe to recycle or compost when the celebration is over.
In this tutorial, we cover how to make wrapping paper designs using image editing software and noissue's online editor. Don't worry if you have no design experience — noissue's designers are here to handle the hard part.
1. Make your design
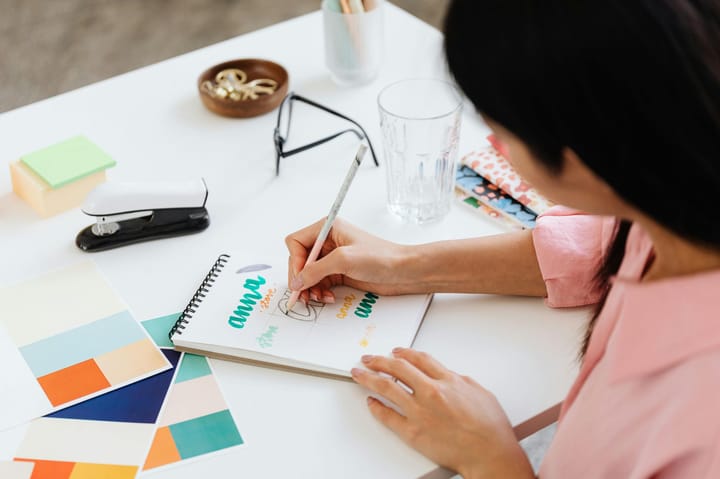
Start by creating the base artwork for your custom-printed wrapping paper. It's a great opportunity for kids to show off their art! You can do this step digitally or on paper. If the artwork is drawn on paper, you'll need to carefully scan or photograph the drawing and clean it up on the computer.
How to clean up your artwork
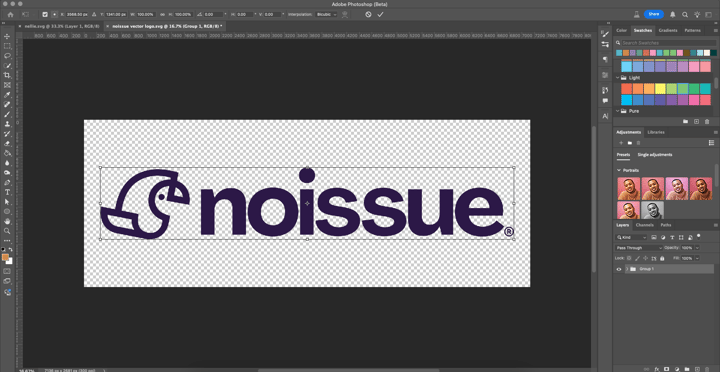
To clean up the artwork, you can use any design software, such as Photoshop.
- Adjust the levels (Image > Adjustments > Levels) until the background is white.
- Make the lines solid black and white (Image > Adjustments > Black and White).
- Select the white area (Select > Color Range) and delete it so you have lined artwork with a blank background. Save your artwork as a PNG file.
2. Create your pattern
Now that your artwork is ready, it's time to make the repeating pattern that'll go all over your custom-printed wrapping paper! Read our step-by-step guide on how to make a repeating pattern in any image editing software, such as Photoshop. You can also create your gift wrapping paper pattern directly through noissue!
How to make a seamless pattern in an image editing program
You can create your own wrapping paper design in two ways in any photo editing program. The first way is to create a seamless pattern, which you can easily reuse for printing on other things. The second way is this more straightforward process — suitable for DIY wrapping paper printing at home or with a professional wrapping paper printer (like noissue!)
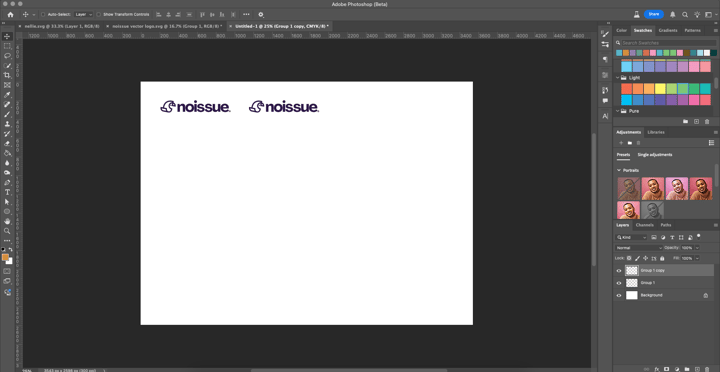
Set up a new document at least 220mm x 300mm (9” x 12 "). Ensure the document is set to 300 dpi so the image prints clearly.

Paste your cleaned-up artwork onto the blank document.
Duplicate the layer with the artwork, shifting it over to form the custom gift-wrapping paper pattern as you like. You can also rotate and flip your duplicated elements to create a more unique pattern.
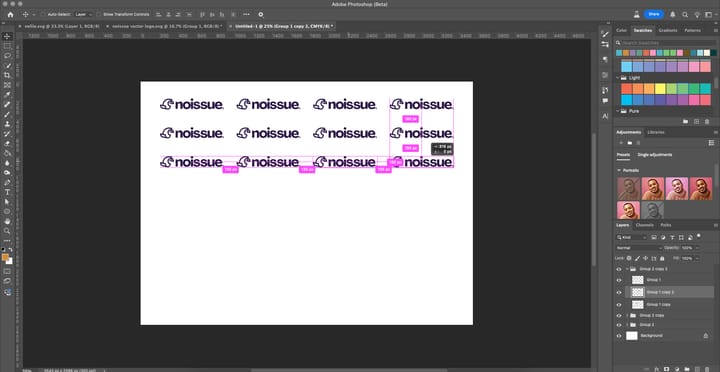
Once you've laid out the artwork, you can copy and paste all the layers to keep repeating the pattern across the file.
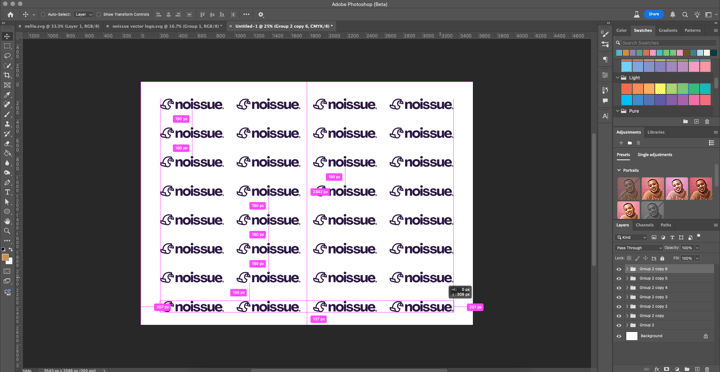
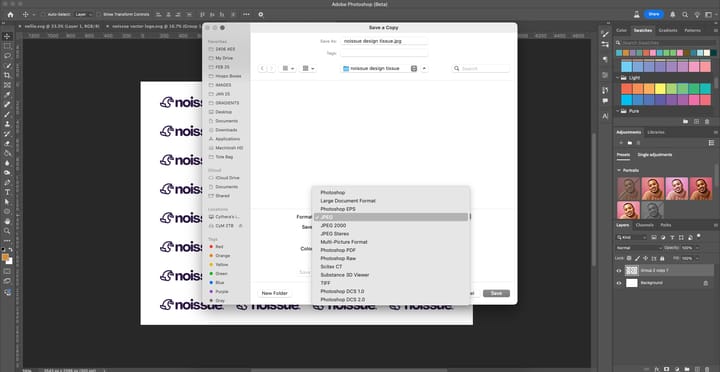
Then, merge every layer and save the image as a JPEG file.
How to make a seamless pattern with noissue
Making repeating patterns through noissue is a lot easier because we handle it all for you! It's a hassle-free option for anyone who wants to customize their own wrapping paper but doesn't have time or experience with design programs.
Head to our custom-printed tissue paper page, select your size and quantity, and hit "continue".
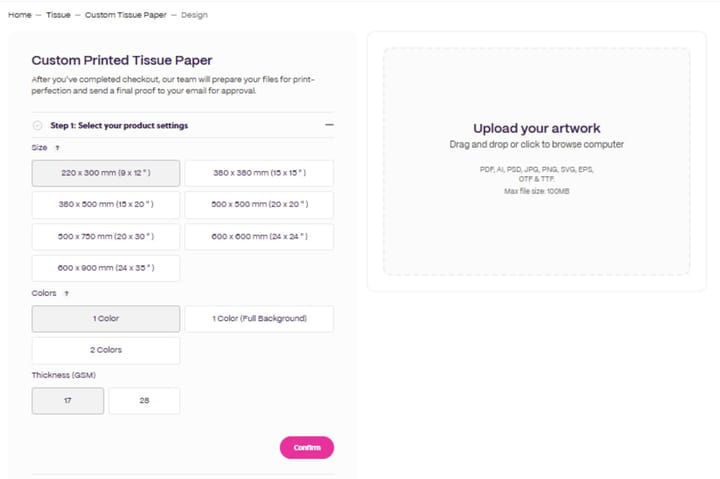
Upload your images and select "Brief a designer" to pick the type of design you want for your custom wrapping paper. Our seamless pattern printing options include:
- Horizontal grid
- Horizontal checker
- Diagonal grid
- Diagonal checker
- Custom (multiple elements in a custom pattern or layout)
- None (enter your request for the designer)
Then, pick your favorite Pantone color. You can even select metallic shades for a bit of Christmas sparkle.
3. Print your custom wrapping paper
Now that your custom design is ready for action, let's go over how to print wrapping paper with noissue. If you designed with noissue in the last step, you're already halfway there!
One important thing to note is the GSM of your wrapping paper or how thick it is. We use 17gsm for single-ink designs printed on white tissue and 28gsm for designs printed with two ink colors or full-color background printing. Read our GSM guide for more information.
Once you've selected your size and quantity, you'll reach a screen where you can either:
- Upload your repeating pattern file yourself with our templates
- Upload the isolated artwork to edit yourself
- Upload the isolated artwork for noissue's designers to edit
Submit the order, and your custom wrapping paper will be sent for proofing in just a few clicks.
We'll get back to you within 10 days with a design proof so you can see how the final product will look when it's printed. Once you're happy, your custom wrapping paper will be off for print. You can expect to get your brand-new wrapping paper at home within three weeks with free shipping!
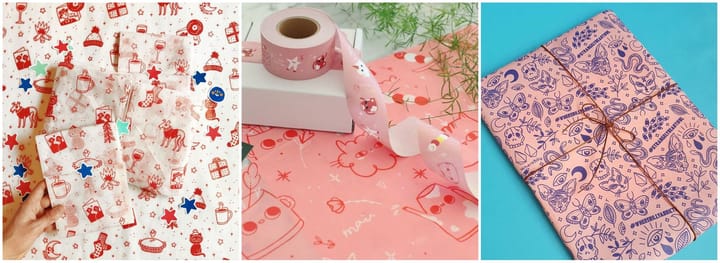
Custom wrapping paper ideas
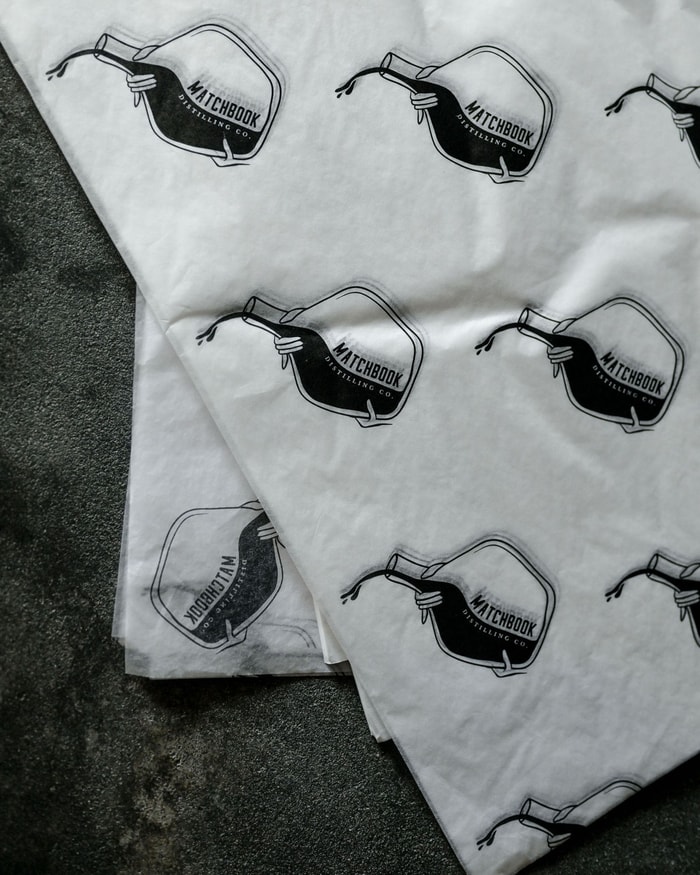
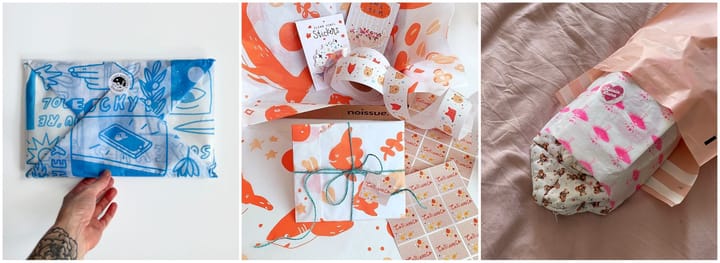
Looking for inspiration for your own wrapping paper? Check out how noissue customers customize tissue paper to create beautiful gift wrapping paper and brand packaging.
You can find even more custom wrapping paper inspo on our blog!
🎁 Wrapping it up
Whether you want to create wrapping paper for family and friends or prepare packaging for your online store, wrapping items with a customized design shows you go the extra mile. Design your own wrapping paper and enhance any special occasion!
Explore more custom wrapping paper printing ideas at the noissue blog. View these 10 festive Christmas packaging ideas or find out how to inject your personality into your packaging. You imagine it, we print it!